Introduction
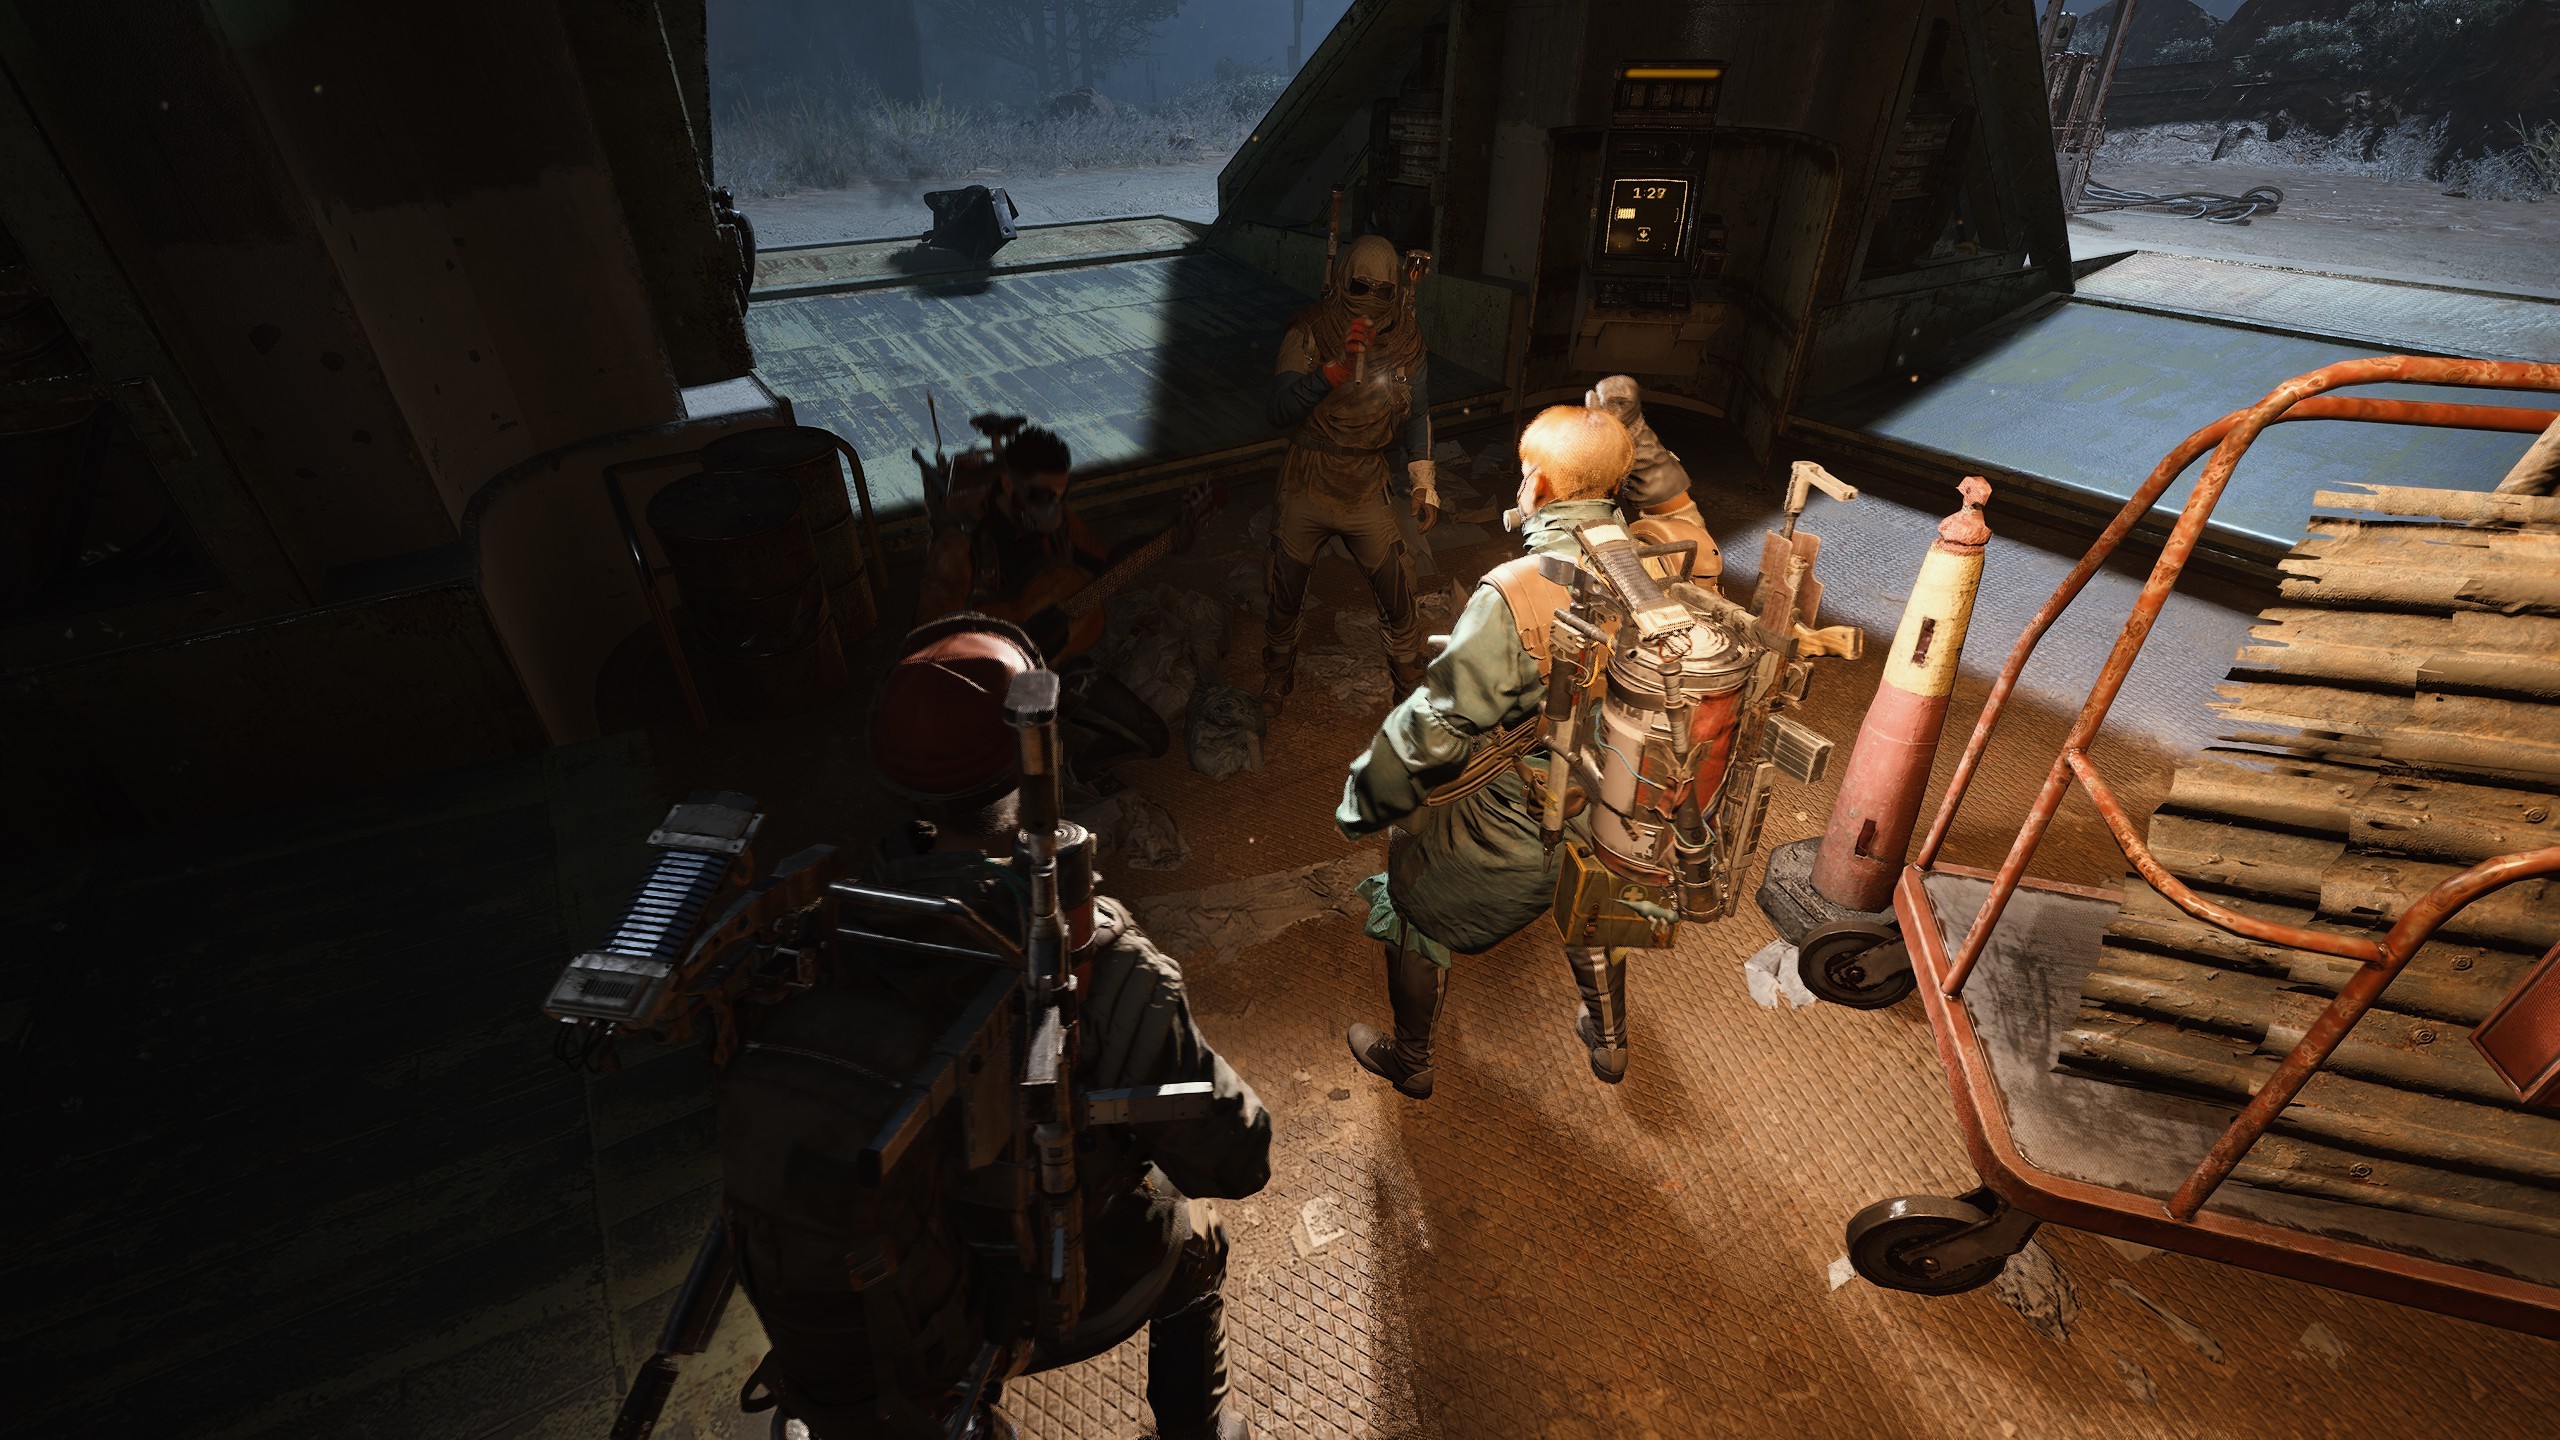
Using a Tarkov Carry Service can cut down the time you spend on tough missions and leveling up in Escape From Tarkov. Instead of running each step yourself and facing repeated setbacks, you team up with an experienced player who leads the way. This saves you from getting lost in unfamiliar areas, hunting for rare items, or getting caught out by powerful AI guards. Carry services focus on your target objectives—whether that means finishing a key quest, clearing a raid boss, or hitting a new level threshold—and guide you through every stage. You follow clear directions, stay close to the helper, and complete each task in a single or block of runs. The result is faster progress, less wasted gear, and more time to learn advanced tactics on the best maps. By choosing a carry service, you avoid trial-and-error runs and use each session to build confidence in your own skills.
When you start working with a helper, you get a roadmap for success. The service handles everything from spawn to extraction, so you don’t have to guess which container holds the quest item or which exit to use under fire. You learn by watching their path choices, hearing quick callouts like “cover the flank” or “move to the next checkpoint,” and noting where high-value loot hides. Over time, you pick up the same strategies and shortcuts they use. Carry services speed up your account progress and double as on-the-job lessons. As you complete more runs, you’ll rely less on outside help and face tougher challenges with the same confidence.
In this article, we’ll share top tips to make each carry session smooth and effective. You’ll learn how to set clear goals, prepare your account, pick the right helper features, and follow best practices through every run. Whether you aim to clear a long quest chain or hit a level gate, these guidelines ensure you and your helper work as a team, get the full value of each session, and leave each map with solid gains and fresh know-how.
Set Clear Run Goals
Before you book a carry session, list out the exact missions or level targets you need help with. Open your in-game quest log and write down the quest name, map name, and task details—for example, “Find marked keycard in Customs” or “Reach level 20.” If you have multiple tasks on the same map, group them together so the helper can tick all boxes in one run. Rank these goals in order of priority. Start with quests that unlock new chains or vendor discounts, then add any follow-up missions that build on those rewards. For level goals, note your current level and the target level you need for high-tier gear or trader access. By setting precise objectives, you give the helper a roadmap to follow and reduce downtime between objectives.

Grouping related quests also cuts load time and rebooking gaps. If three quests ask you to find items on Woods, you complete all three in a single session instead of hopping across maps. This focused approach saves roubles on loadout changes and gear replacements. It also boosts your confidence: you see consistent progress after each run, rather than partial progress spread over multiple sessions. Clear goals help the helper plan the fastest route, choose the right loadout for each task, and keep you on track. You avoid confusion about which step comes next and maximize every minute you spend in a raid.
A well-defined goal list keeps you engaged and motivated. You know exactly what to expect from the session and can track results immediately after extraction. Once you confirm each goal is finished—quests marked “Completed,” levels bumped, boss kills logged—you move on to the next set of tasks with a sense of achievement. This structure turns each carry session into a clear stepping stone on your Tarkov journey.
Prepare Your Account
A smooth carry run starts long before you load into the map. First, clear out your stash to free up space for any items the helper drops or hands off. Sell or discard old weapons and gear you no longer use, leaving empty slots ready. Next, cancel or finish any quests that overlap with your carry objectives. If a quest is partly done, the helper’s completion may overwrite your progress, so wrap up those missions first. Open loadout slots in your equipment menu so you can receive helper-provided weapons or armor if the session includes a gear boost.
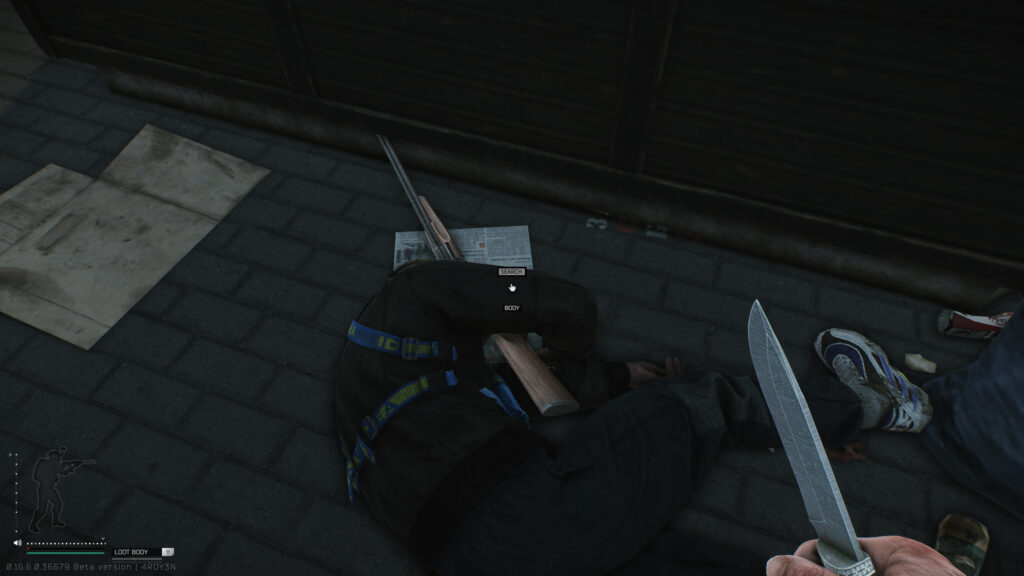
Also, set your preferred extraction points in advance. If a quest ends with a specific exit, choosing that exit in your settings saves precious seconds. This way, you don’t have to fiddle with the extraction screen under fire. If possible, launch a quick test in offline mode. Have the helper guide you through a simple spawn to extraction path to confirm waypoints, callouts, and voice or text commands work on your setup without live-server lag. Finally, double-check your internet connection—ideally use Ethernet instead of Wi-Fi for the most stable link.
By handling these steps before the session, you cut out common errors: full stashes that delete new gear, quest conflicts that reset progress, and misrouted extractions that leave you stranded. A clean, ready account means the helper can start the mission at once, keeping you in the action and delivering every quest item or level boost you purchased.
Choose the Right Helper Features
Picking a helper who matches your needs starts with checking two main features: map expertise and session length. Map expertise means the helper has strong knowledge of the locations where your quests or level runs take place. Some helpers focus on Factory and Customs, while others specialize in Reserve or Labs. You want someone who has run dozens of successful missions on the exact maps you need, so they know spawn points, loot locations, and extraction routes. Equally important is session length. Helpers may offer a single run, a block of three runs, or a package that covers multiple level or quest boosts. If you book individual runs, you spend more time setting up each session. If you pick a multi-run package, you jump from one mission straight into the next without rebooking.
Below is a simple table to help you compare these features and make a choice:
| Feature | What to Check | Why It Matters |
|---|---|---|
| Map Expertise | Number of runs on each map | Ensures helper knows every shortcut |
| Session Length | Single run vs. multi-run packages | Affects time spent on setup |
| Run Type | Quest-only, level-only, or mixed runs | Matches your immediate goals |
| Run Count | How many raids per booking | Balances price and progress speed |
By matching map expertise to your quest or level targets, you ensure every run moves you forward efficiently. Choosing the right session length means you spend more time playing and less time in menus. When both features align with your goals, each carry run delivers clear progress and valuable in-raid tips you can use later on your own.
Confirm Communication Style
Clear guidance during a carry session depends on the communication method. Helpers use voice chat, text commands, map markers, or quick phrases. You need a style that fits your focus and technical setup. If you prefer spoken directions and can reply in real time, voice chat works best. If you find audio chat distracting or have limited bandwidth, text commands or on-screen markers may suit you better. Below is a list of common communication methods and what you should look for in each:
- Voice Chat Guidance
- Real-time spoken instructions
- Lets you ask questions on the fly
- Good for fast-paced runs
- Text Commands
- Typed messages in chat or overlay
- Clear written steps you can read at your own pace
- Low data use and minimal distraction
- Map Markers
- Waypoints placed on your map UI
- Visual cues for routes, loot spots, and exits
- Ideal if you like following a clear path
- Quick Phrases
- Short, preset calls like “Follow,” “Cover,” or “Extract”
- Fast prompts that work even on slower connections
- Mixed Approach
- Combination of voice, text, and markers
- You choose the methods that fit each run
Before you book, ask the helper which methods they offer. If you need pause points to catch up, confirm they can adjust pace. If you want a written plan you can screenshot, make sure text commands appear on screen. Clear communication keeps you in sync, avoids missed turns, and helps you learn routes and tactics for future solo runs.
Start with a Trial Run
Testing a short, simple run first helps you confirm the helper’s style and skill before booking a larger package. Pick an easy mission like “Eliminate 5 Scavs on Customs” or “Reach Level 5” that takes under 15 minutes. Send the helper your quest name or level target in advance and request your preferred communication method. During the trial, watch how they guide you: do they mark points quickly, give clear calls, and adapt if you fall behind? After you extract, give feedback on what worked and what needs adjustment—maybe you need more map markers or slower verbal cues.
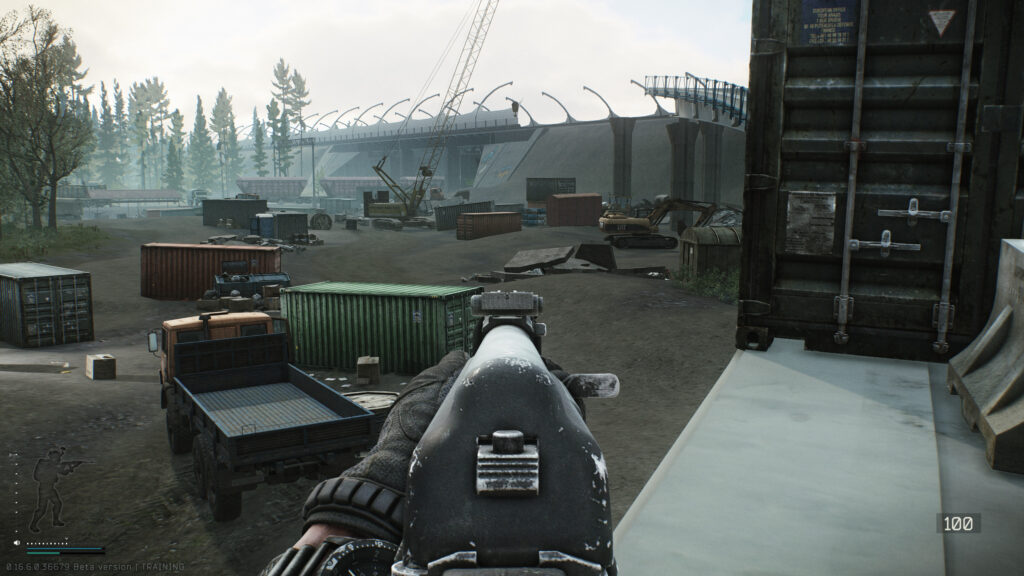
A trial run also checks your account setup. You confirm stash slots are free, quests don’t overlap, and extraction points match. If the trial goes smoothly, you know the helper’s pace fits your play style. If you spot issues—like unclear directions or frequent delays—you can switch to another helper without losing a full session booking. Use these steps for your trial run:
- Choose a quick mission under 15 minutes
- Share goal and preferred communication method
- Follow helper instructions closely
- Note any pauses or confusion points
- Provide honest feedback after extraction
Once the trial confirms a good match, you can confidently book multi-run sessions or higher-level quests. This approach saves time and ensures every session delivers clear progress and practical lessons.
Review Session Performance
After you record your results, review how the session went. Ask yourself: Did the helper’s pace match your speed? Were directions clear and easy to follow? If you felt rushed, note that you might need more pause points or slower verbal cues. If you spent too long identifying containers, you may want a helper who uses more map markers. Sending brief feedback to the helper—such as “I need 2-second pauses after each marker” or “Please drop voice commands by key item calls”—helps them adjust on future runs.

Also consider gear choices and loadout efficiency. Did you run out of ammo before extraction? Were your armor and weapons suitable for the map? Note these issues and adjust in your next session. For example, you might upgrade to a larger mag size or bring extra medical supplies. Reviewing performance means looking at both helper guidance and your own gear setup. Combining insights from both angles sharpens your approach and cuts down lost runs.
Finally, rate the overall session. A simple scale—like 1 to 5 stars—can help you compare helpers or session types. If one helper nails every run in 30 minutes, while another takes 45, you’ll know whom to book next time. Clear feedback loops turn each session into a tool for improving both your carry service experience and your solo play.
Plan Your Next Runs
With performance notes in hand, you’re ready to schedule future sessions that build on what you’ve learned. Group remaining quests by map and difficulty. For example, if you cleared four Shoreline fetch missions, book a block of three mid-tier tasks on Woods next. Use your XP and drop timing records to decide whether to add a level boost or stick to quest runs. If you found that certain maps took longer, allocate extra time or choose a helper who specializes in those areas.
When you book, reference your notes: “Last run I needed more map markers on Rezerv,” or “I’d like extra pause points for boss fights on Labs.” This prepares the helper and ensures each session zeroes in on your sticking points. You can also gradually reduce reliance on carries by attempting simpler tasks solo while keeping carries for the toughest quests. Over time, you’ll build the skills and map knowledge to handle runs on your own.
Finally, set a progress goal for the next week or month. Decide how many quests or levels you want to clear and plan carry sessions accordingly. For example, you might aim to finish 10 quests via carries and then test solo runs on half of them. This mix of guided and solo play helps you internalize routes and strategies. By planning your next runs with clear goals and lesson-based notes, you keep your Tarkov progress steady, efficient, and always moving forward.